Games Development - Task 3: Game Prototype
12.06.2024 - 30.06.2024 / Week 8 - Week 10
Lim Rui Ying / 0358986
Games Development / Bachelor of Design (Hons) in Creative Media
Task 3: Game Prototype
INSTRUCTIONS
TASK 3: Game Prototype
We are required to create a prototype for our game that showcases the gameplay
and tests out the game mechanics.
Task requirements:
- Coding movements and actions
- Coding obstacles and enemies’ interactions
- Coding game levels (Logic of the game)
Summary
What has been done:
Gameplay & Assets:
- Scenes: Level 1, Game over scene
- Player Control: Move, Jump, Double jump, Attack, Hurt, Die, Respawn
- Enemy 01 (Grim) Control: Move, Attack, Hurt, Die
- Traps: Spikes, Acid pool
- Collectibles: Energy pieces, Health pack
- Health System
What has yet to be done:
Gameplay & Assets:
- Scenes: Start scene, Pause scene, Story cutscenes, Level 2, Level 3
- Enemy 02 and The Boss Control
- Traps: Falling asteroids
- Collectibles: Double bullet power-up
- Background
- HUD Design, Buttons
- Background music and sound effects
Prototyping Process
1) Sprites Import and Setup
To set up the sprites, I followed a tutorial on importing 2D sprite sheets
into Unity by
Chris' Tutorials. I used the settings below and sliced the sprite sheet into individual
sprites according to the sprite size using the Sprite Editor. I applied the
same settings to all the sprites in the project.
Sprite settings:
- Sprite Mode: Multiple
- Pixels Per Unit: 16 (set the same value for all sprites)
- Filter Mode: Point (no filter)
- Compression: None
|
|
| Fig. 1.1 Sprite settings |
|
|
| Fig. 1.2 Slicing into individual sprites |
2) Player Movement (Idle, Move, Jump, Double Jump, Fall)
I began the prototype with the main character, Oliver. created basic
animations for the player. Then, I developed scripts to handle the player's
movement, including actions like idle, move, jump, double jump and fall.

|
| Fig. 2.1 Import player and develop player's movement |
Fig. below showcases the sprites of the main character, Oliver, which I
created in Photoshop, including animations for all movements. Fig. shows the
player animations I set up in Unity and transitions between different
animations.
|
|
| Fig. 2.2 Main character sprites |

|
| Fig. 2.3 Player animations |
Video 1: Player's basic movements
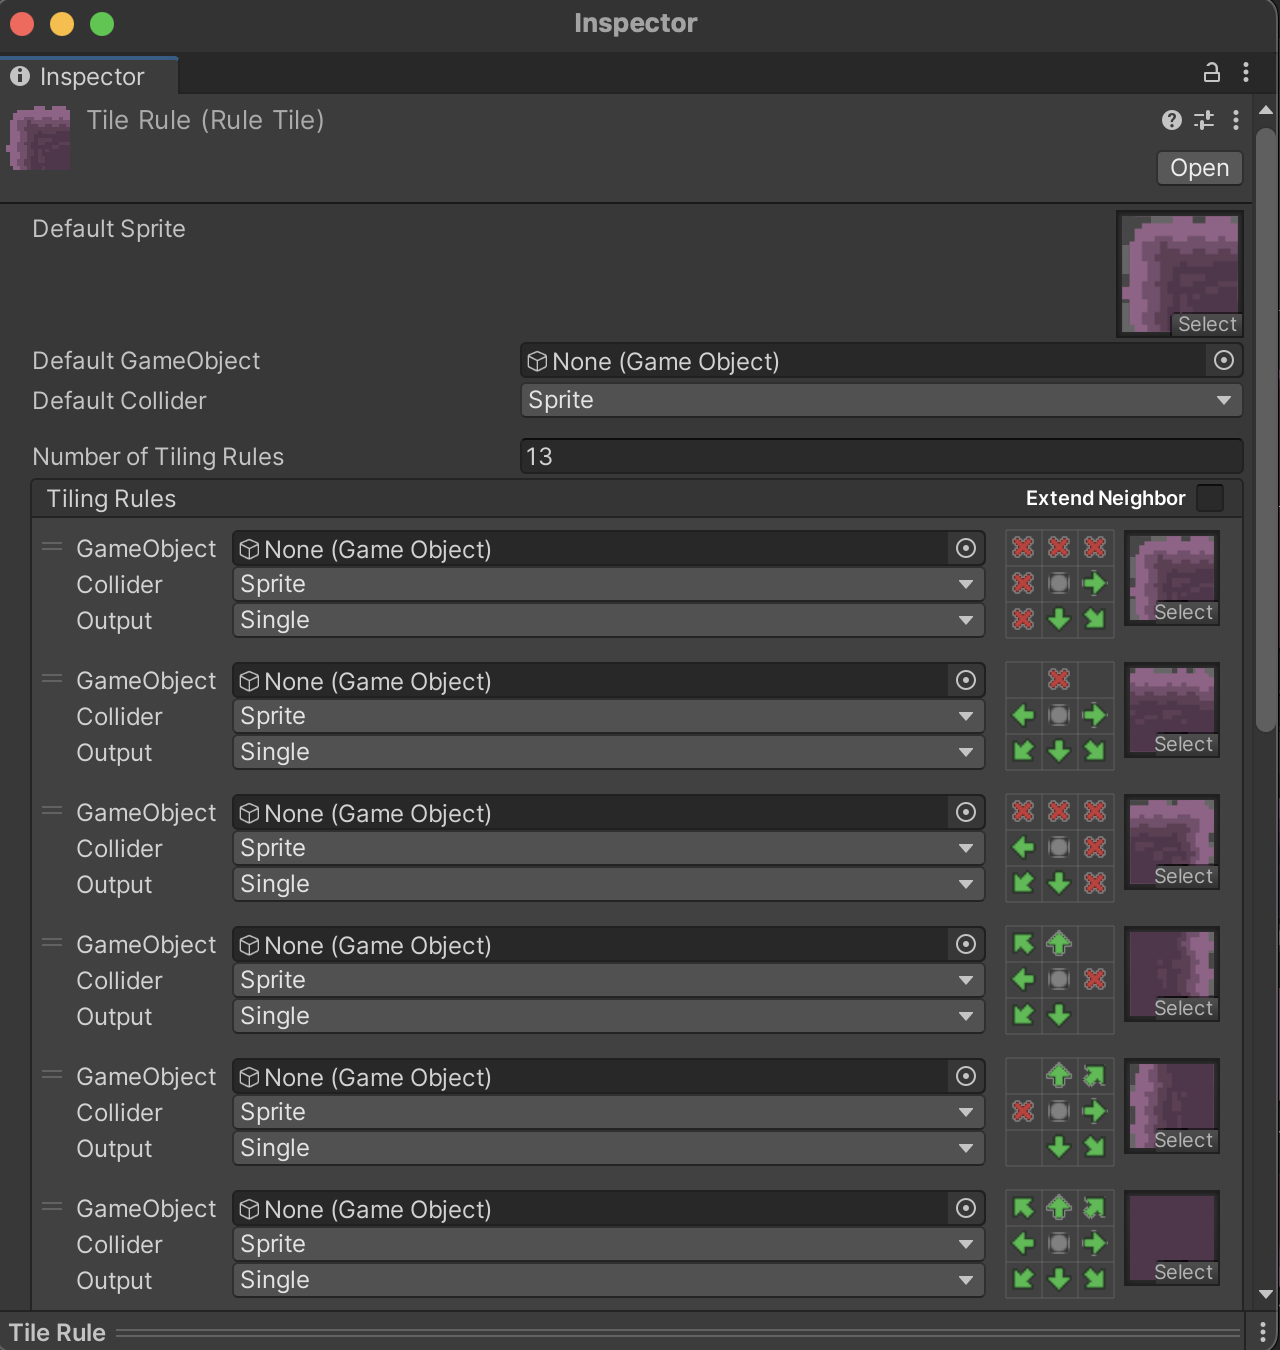
Next, I set up the tileset and created a tile palette for it. I also created
a tile rule, which made it more convenient to design the platform for the
first level.

|
| Fig. 3.1 Tile sprites and tile palette |
|
| Fig. 3.2 Tile rule |
4) Collectibles (Energy Pieces, Health Pack)
Energy pieces are important items for the player to collect from the Lumina
Planet, while the health packs serve as power-ups that restore the player's
health. I created a subtle pulsing animation for both collectibles and
created scripts to manage their interactions with the player.

|
| Fig. 4.1 Subtle pulsing animation |
I also added a collect effect to the energy pieces, indicating they are collected by the player. This effect is also applied to the health pack.

|
| Fig. 4.2 Interaction between the player and energy pieces (collect effect) |
5) Traps (Spikes, Acid Pool)
The traps including spikes and acid pools serve as challenges and obstacles
for the player. Both the spikes and acid pool take 1 health to the
player.


Fig. 5.0 Interaction between the player and traps (acid pool & spikes)
6) Enemy 01: Grim (Move, Attack, Hurt, Die)
The enemy, Grims, are minions of the Grimey aliens who inhabit the Lumina
planet. I spent quite some time creating the controls and movement for this
enemy. I implemented ground and wall check detection so that when the enemy
detects no ground, it flips direction, and when it detects a wall, it also
flips.

|
| Fig. 6.1 Ground check detection |

|
| Fig. 6.2 Wall check detection |
Another challenging thing was creating the enemy's attack behaviour. I
wanted the enemy to start attacking when the player walks nearby, which
required setting up a detection range for the player. Luckily, I found a
tutorial that explained how to implement this behaviour. Below is the
outcome, with the circle indicating the detection range.
Video 2: Player enters detection range
Besides, implementing the enemy's attack projectile was another challenge
for me. When the enemy attacked, the projectile would come out but
disappear immediately. After numerous tests and trials, I discovered
the issue was due to collisions between different layers. To resolve this,
I assigned the projectile to a new layer and disabled the collision
between the projectile and the enemy.

|
| Fig. 6.4 Sort into different layers and disable the collision (Project Settings) |
When the player enters the enemy's detection range, the enemy begins to
attack and tracks the player's movement. The player gets hurt by reducing
0.25 health, triggering a flash effect and a brief freeze lasting about
0.5 seconds.

|
| Fig. 6.5 Interaction between the player and enemy (enemy's attack) |
7) Player Attack
After learning how to implement the enemy's attack behaviour, I applied a
similar concept for the player to attack the enemy.

|
|
Fig. 7.0 Interaction between the player and enemy (player's
attack) |
8) Health System
Next, I implemented the health system for both the player and enemies,
ensuring they take damage when hurt. Below are their respective health
values and the sources from which they take damage.
Player:
- Total health: 5
- Damage sources:
- Enemy (Grim): 0.25 health per hit
- Spikes and acid pool: 1 health per hit
- Total health: 3
- Damage from player: 0.5 health per bullet
When the player runs out of health, he dies and the game ends.

|
| Fig. 8.0 Game over |
9) Checkpoint & Respawn
I set up a checkpoint in Level 1 to save the player's progress during the
game. I created a script for the checkpoint to activate and update the respawn position of the player once activated.

|
| Fig. 9.1 Activating checkpoint |
The most challenging issue I’ve faced is respawning the player. Initially, I
successfully implemented respawning, but when I tried to integrate the
respawn script with other scripts, it stopped functioning correctly. This
caused problems such as the inability to spawn the player or spawn multiple
players in the game.

|
| Fig. 9.2 Unable to respawn (Missing Reference Exception) |

|
| Fig. 9.3 Spawning multiple players |
I recreated the respawn scripts and realized I did not assign the player
prefab from the Assets folder correctly. The “Missing Reference Exception”
occurred when the player was destroyed, causing enemies to lose their
reference to the player. With ChatGPT’s help, I updated the respawned player’s
Transform position to resolve this issue for the enemies. Finally, I
successfully implemented the respawn functionality (੭*ˊᵕˋ)੭*‧₊˚
|
|
| Fig. 9.4 Respawning at checkpoint |
Final Submission
Walkthrough Video
Presentation Video
Walkthrough Video - Task 3: Game Prototype
Presentation Video - Task 3: Game Prototype
REFLECTION
This task required us to start coding for our game, making our assets playable, and showcasing interactions between the player and other game objects. I found it challenging because creating a platformer game involves using C#, a language I was totally unfamiliar with. Fortunately, online tutorials and the help of ChatGPT guided me through the process. As I worked on the prototype, I gained a basic understanding of C# but still struggled to write code independently. Despite room for improvement, I am satisfied with the progress made in this prototype, making the game playable. There is still much to be done, and I hope to complete a fun and visually appealing game by the end of the semester.


Comments
Post a Comment